


Creating a paperwhite planter for your home is a fun and easy project to do.
What you’ll need:
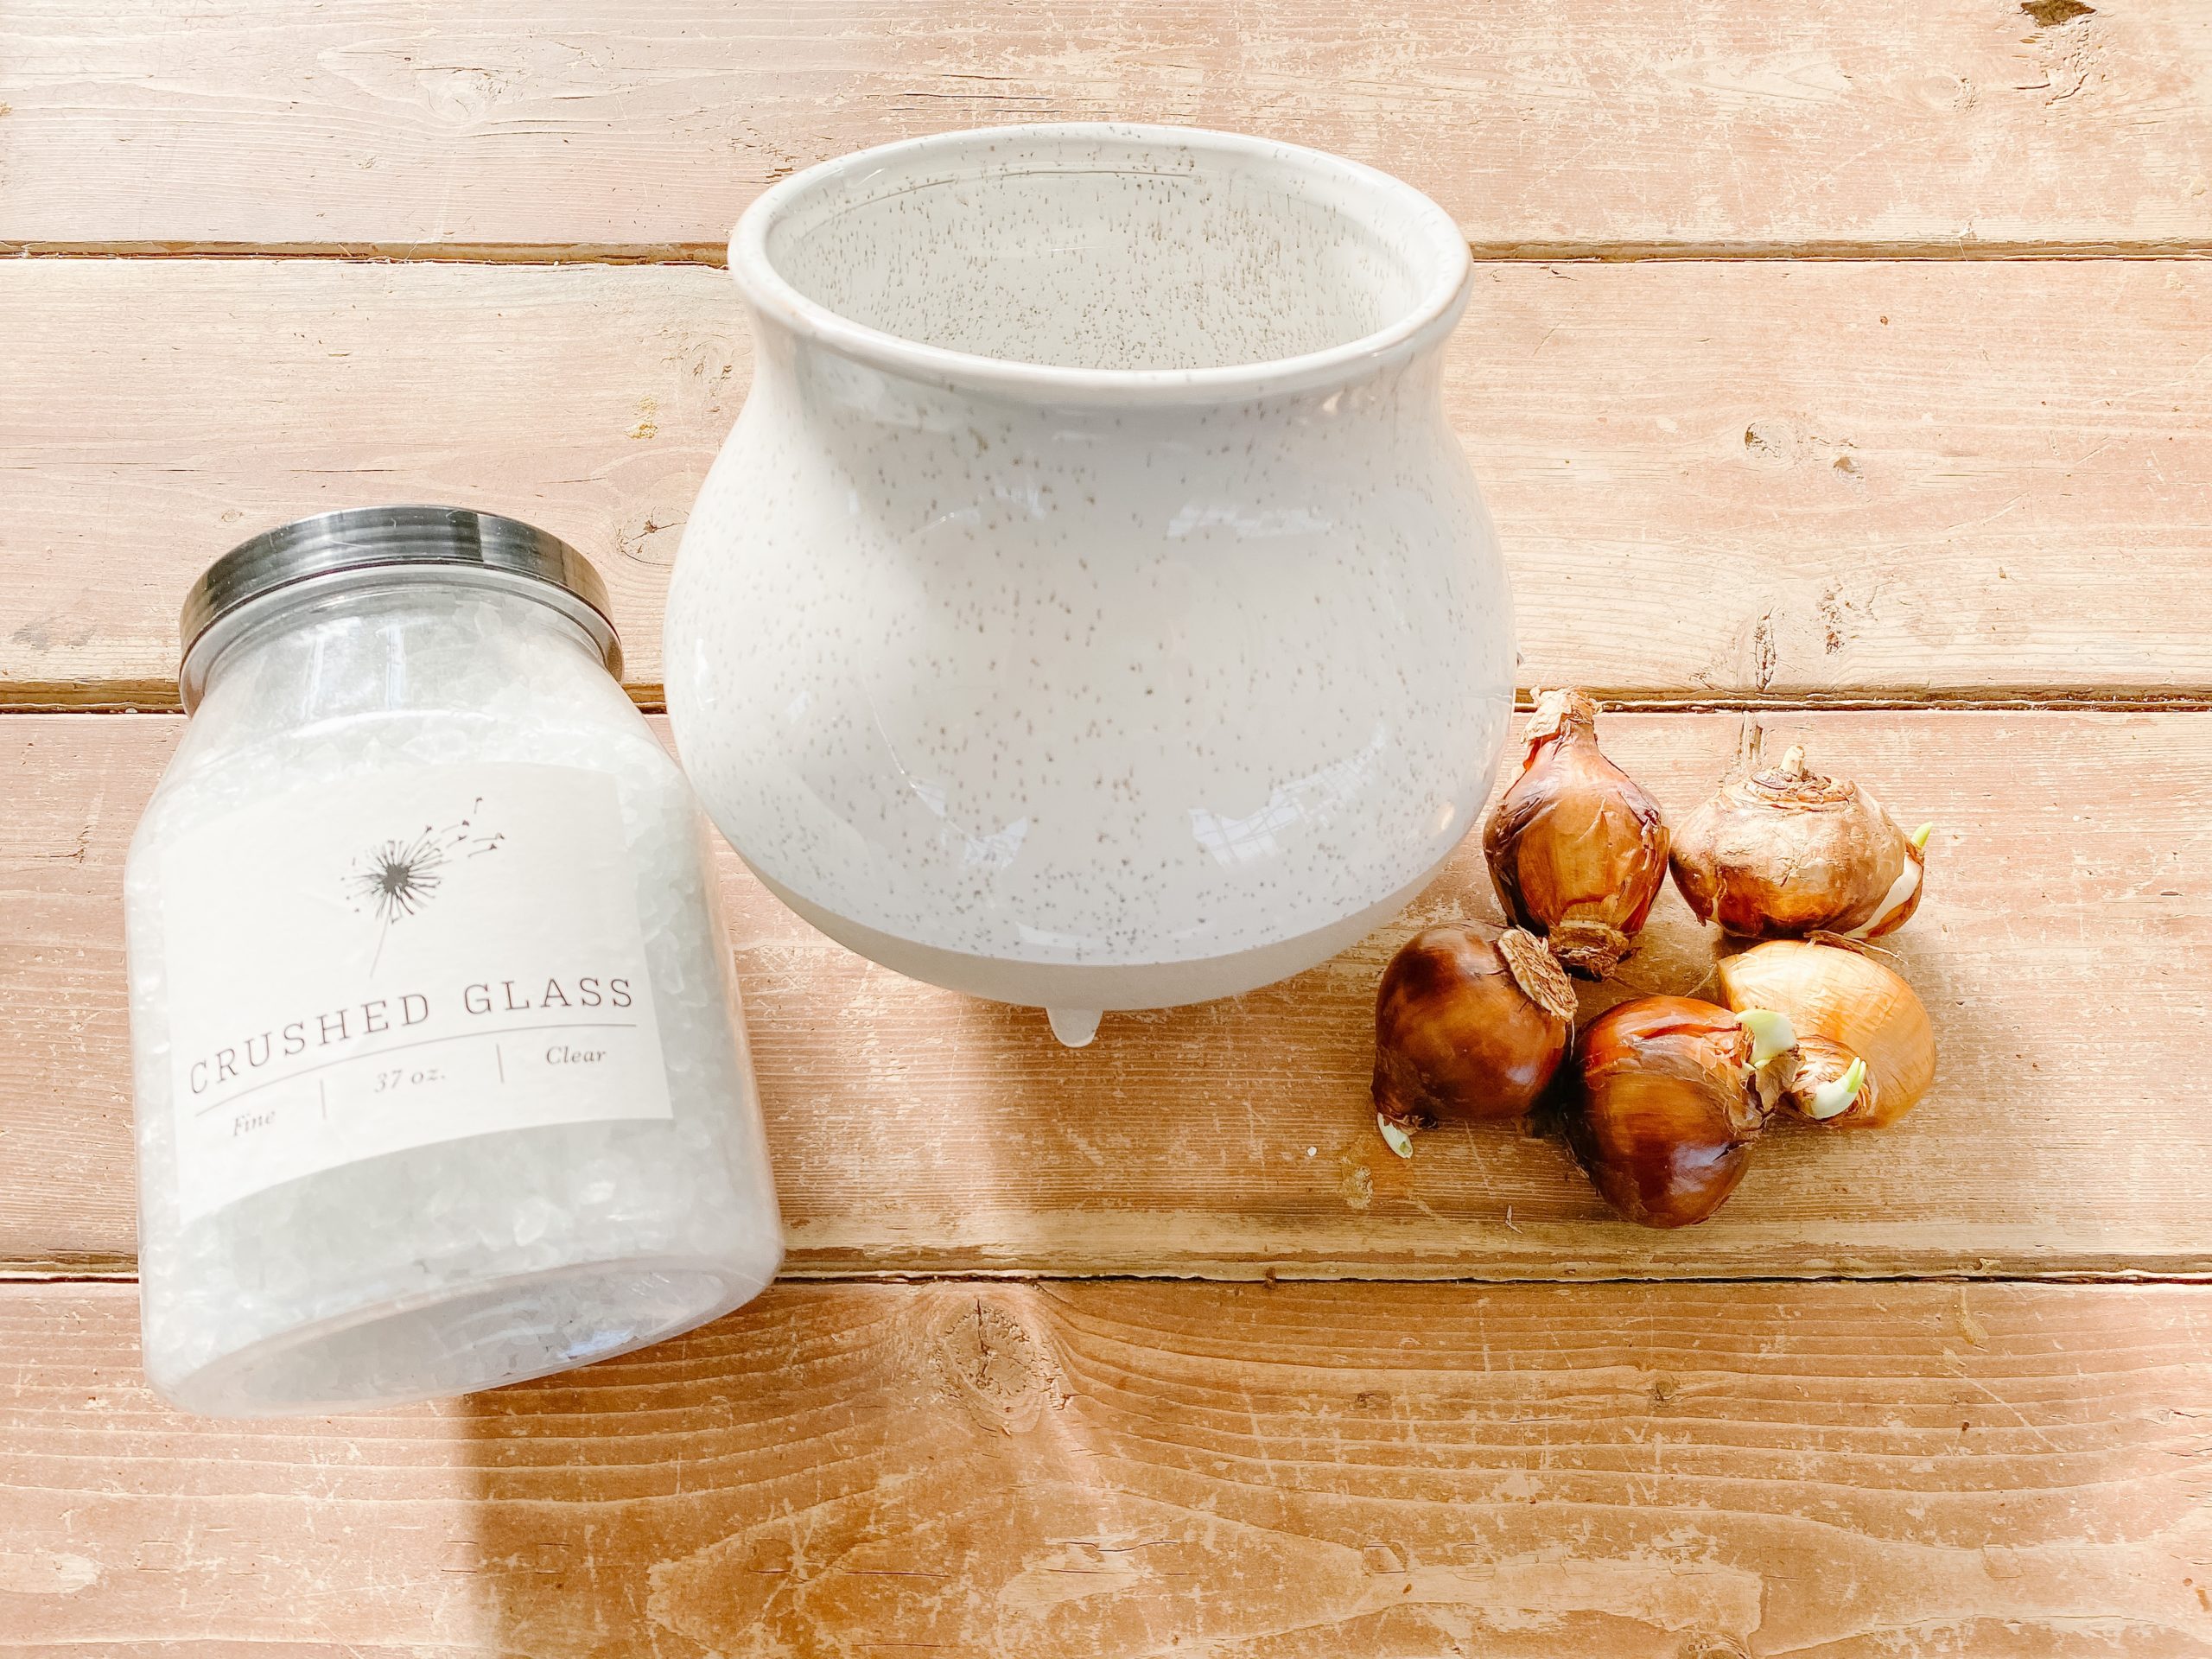
- Crushed glass, pebbles, or rock
- A container or vase to put your bulbs in
- A pack of paperwhite bulbs
- Water

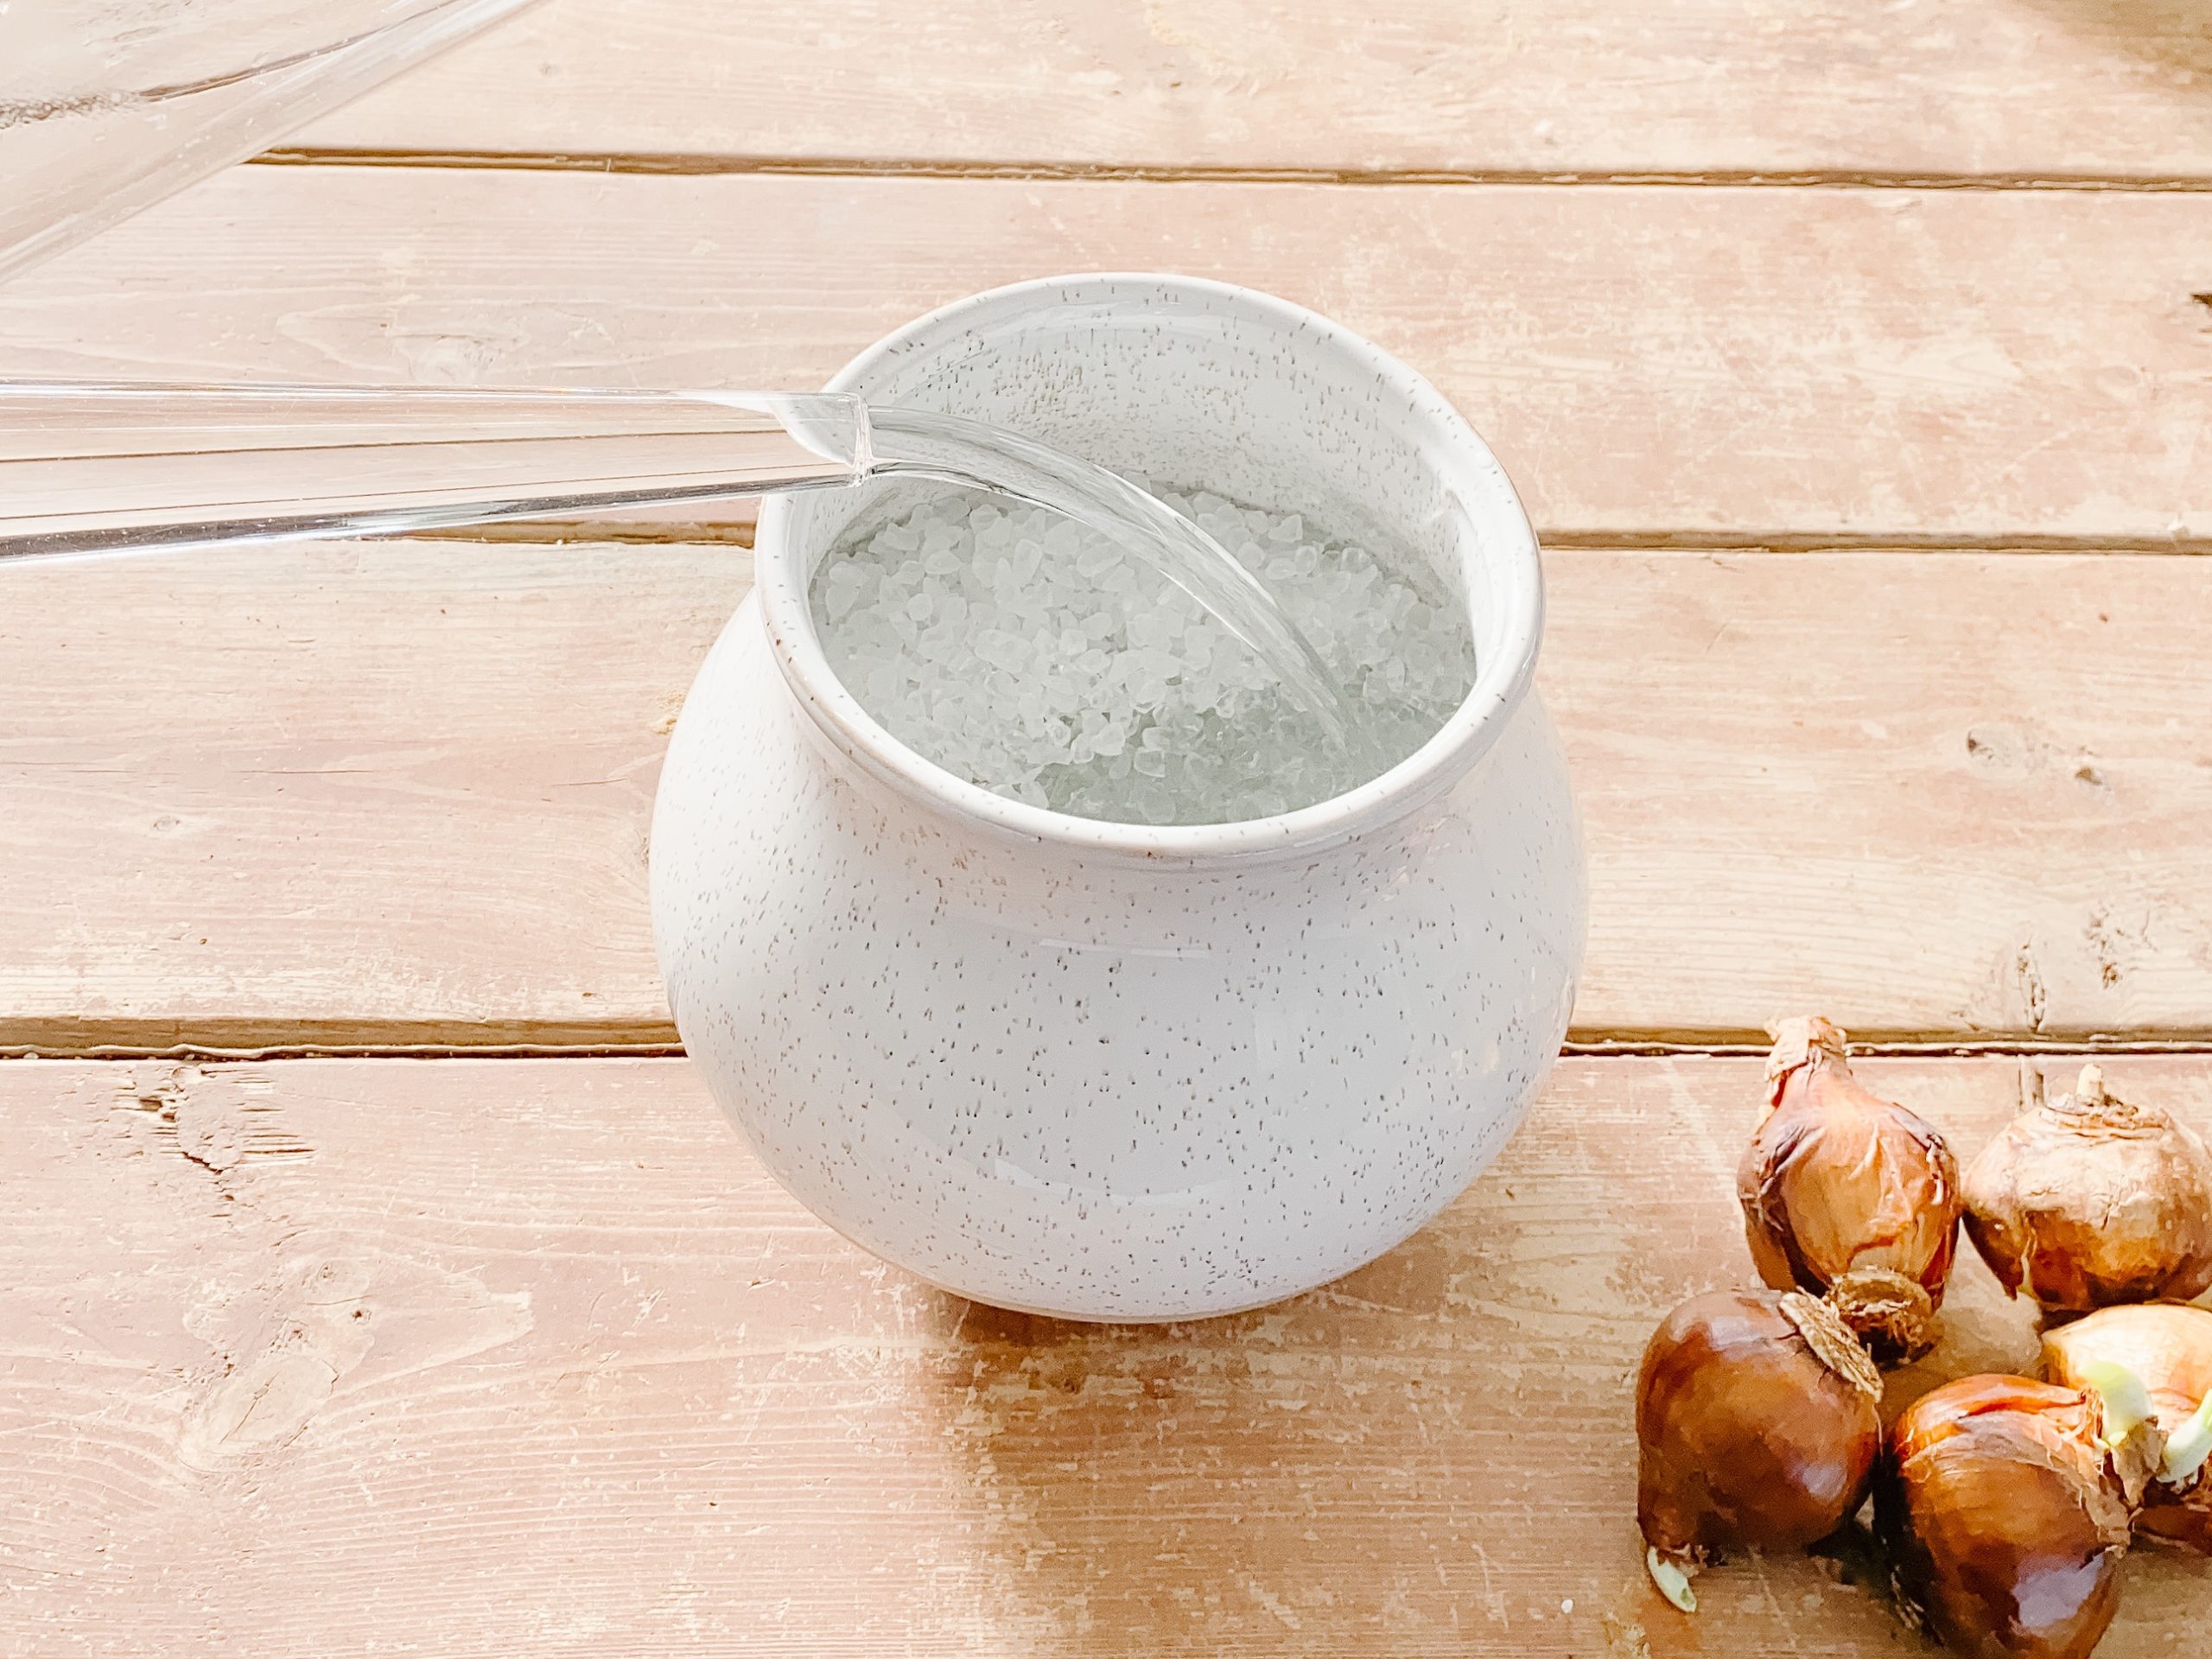
1 Pour your rock, crushed glass, or pebbles into your container or vase. Keep in mind the height of your bulbs, you’ll want to leave enough room between the rocks and the top of your container to fit your bulbs.
2 Add water to the level of the pebbles, rock, or crushed glass. Once the bulbs are placed, top up the water to the bottom of the bulb.
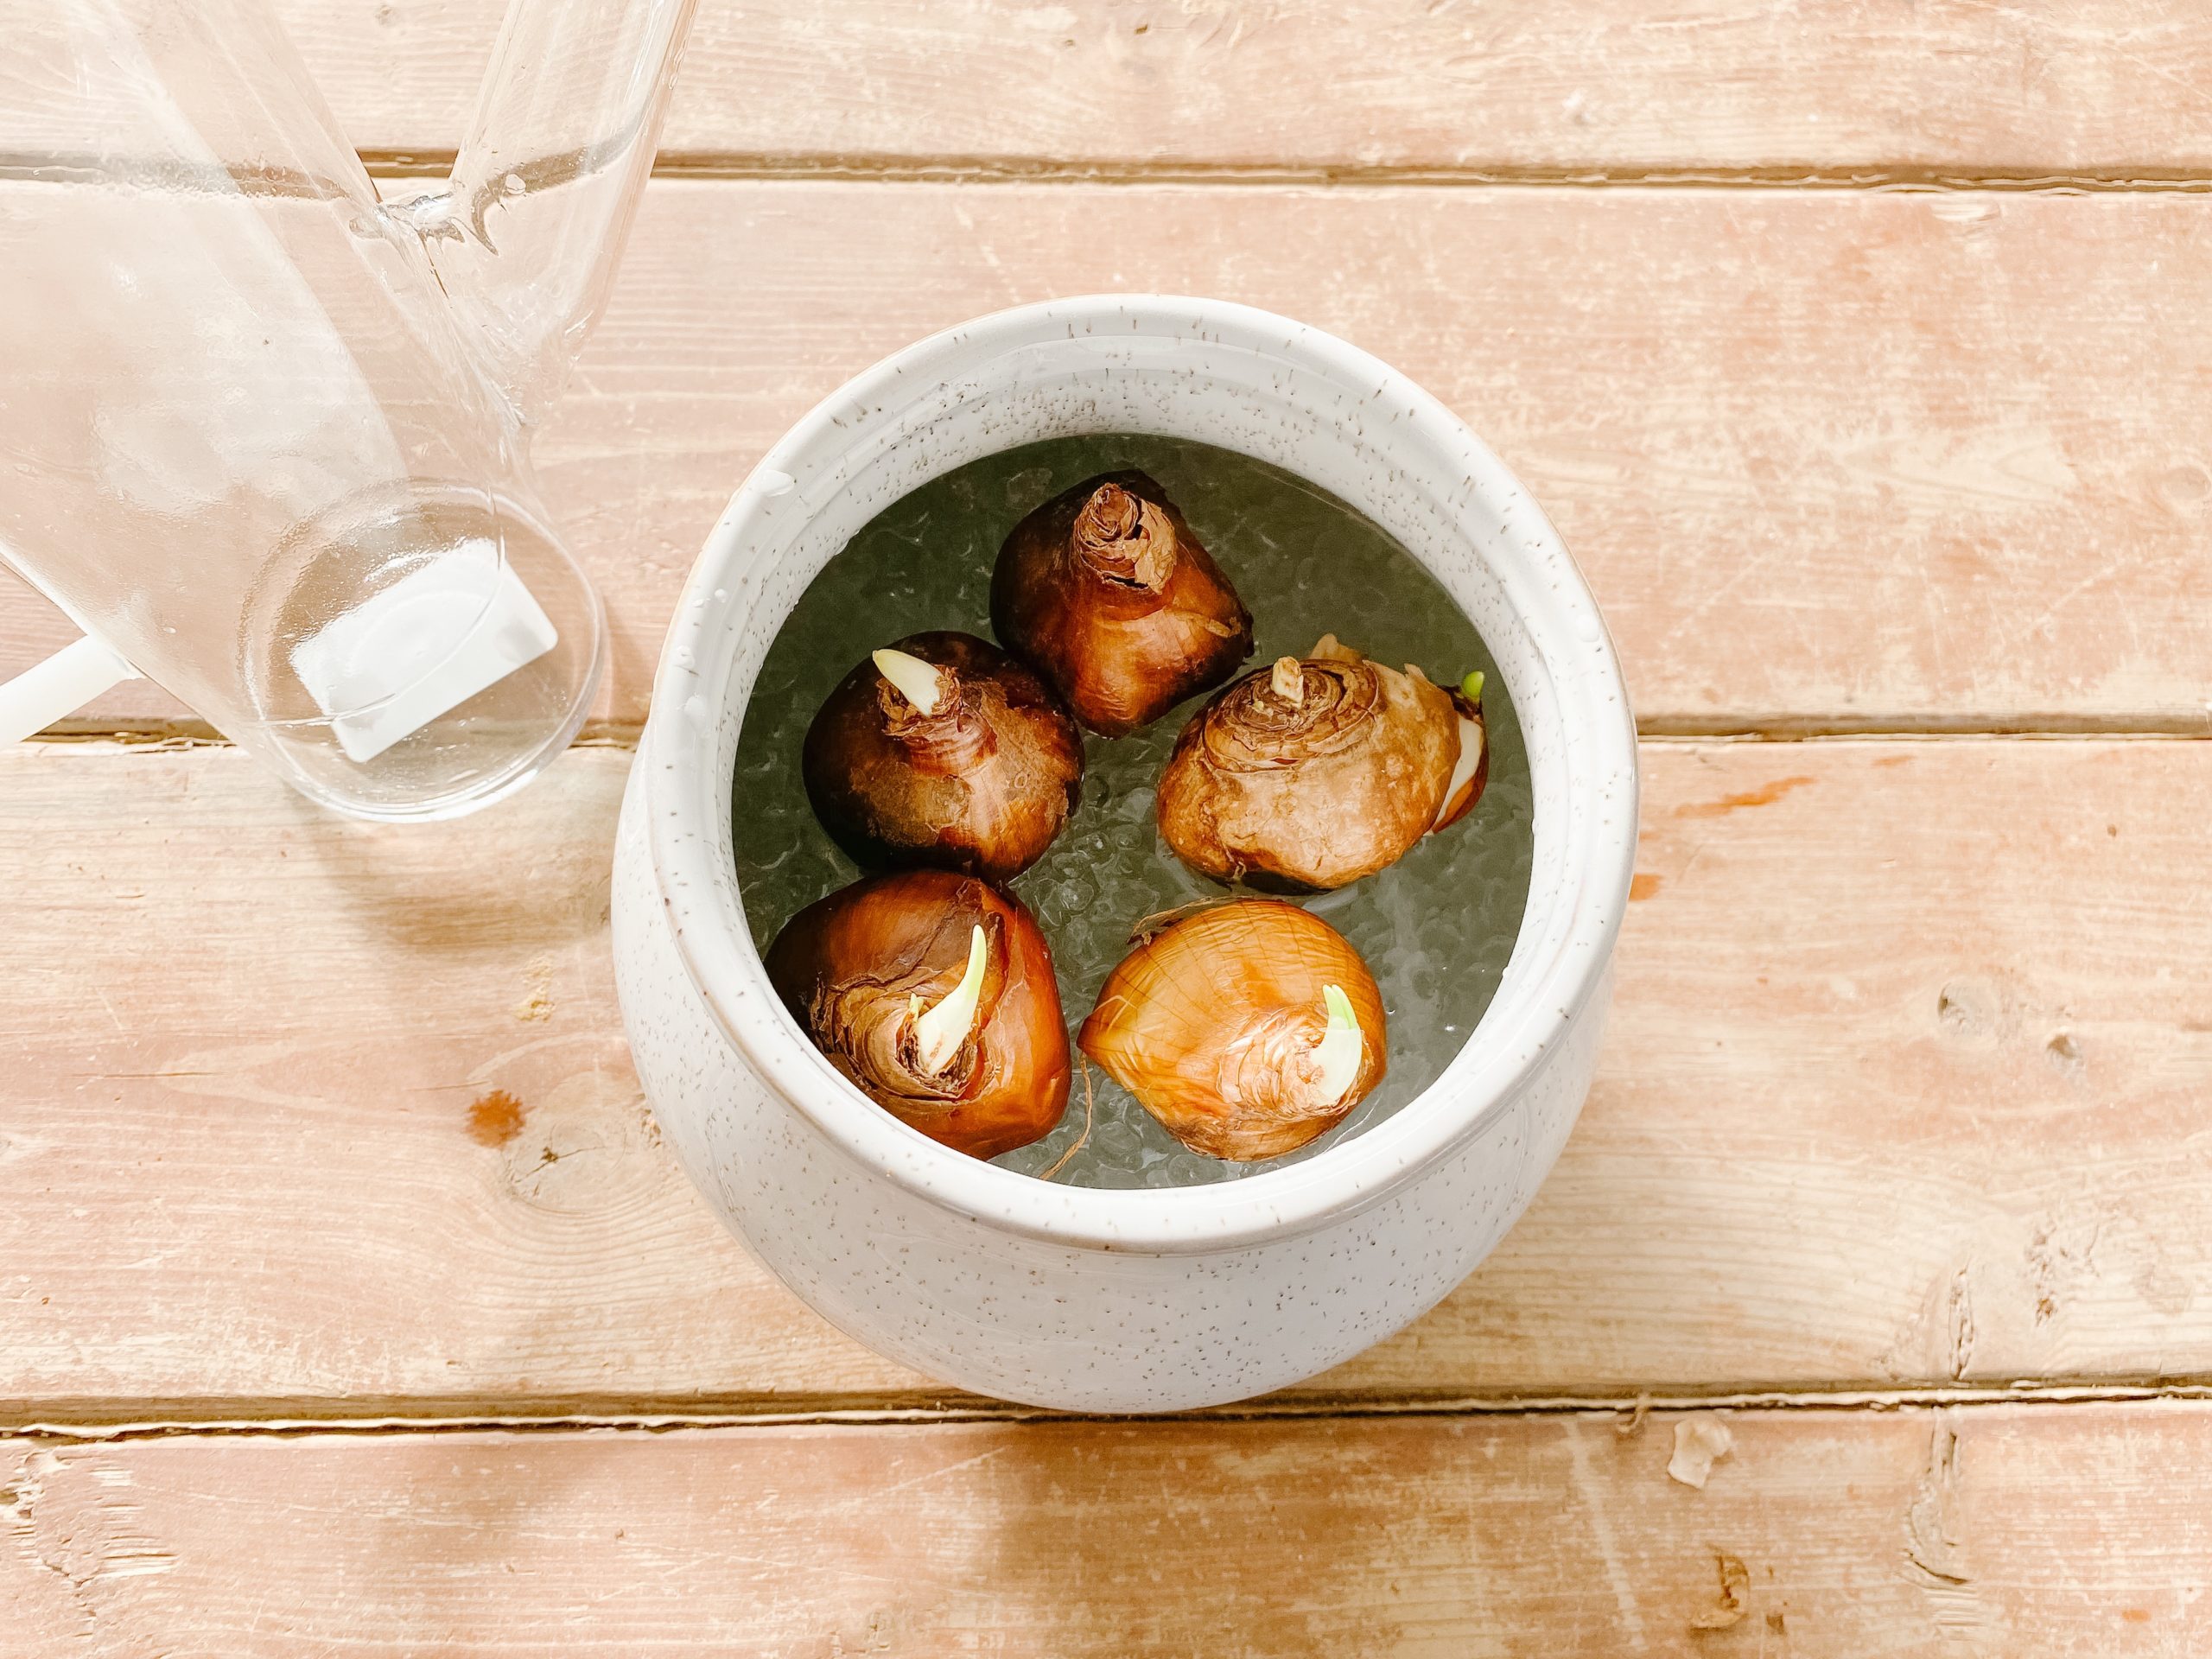
3 Nestle your bulbs into your crushed glass, pebbles, or rocks. You can place your paperwhite bulbs tightly together. Add your extra water so it reaches the bottom of your bulbs.
4 Place in a cool, dark area (about 10C) until the first 3 inches of growth. Once the sprouts are 3 inches (8cm), move your paperwhites into more light. Within a few weeks, you’ll be greeted with beautiful white blooms.

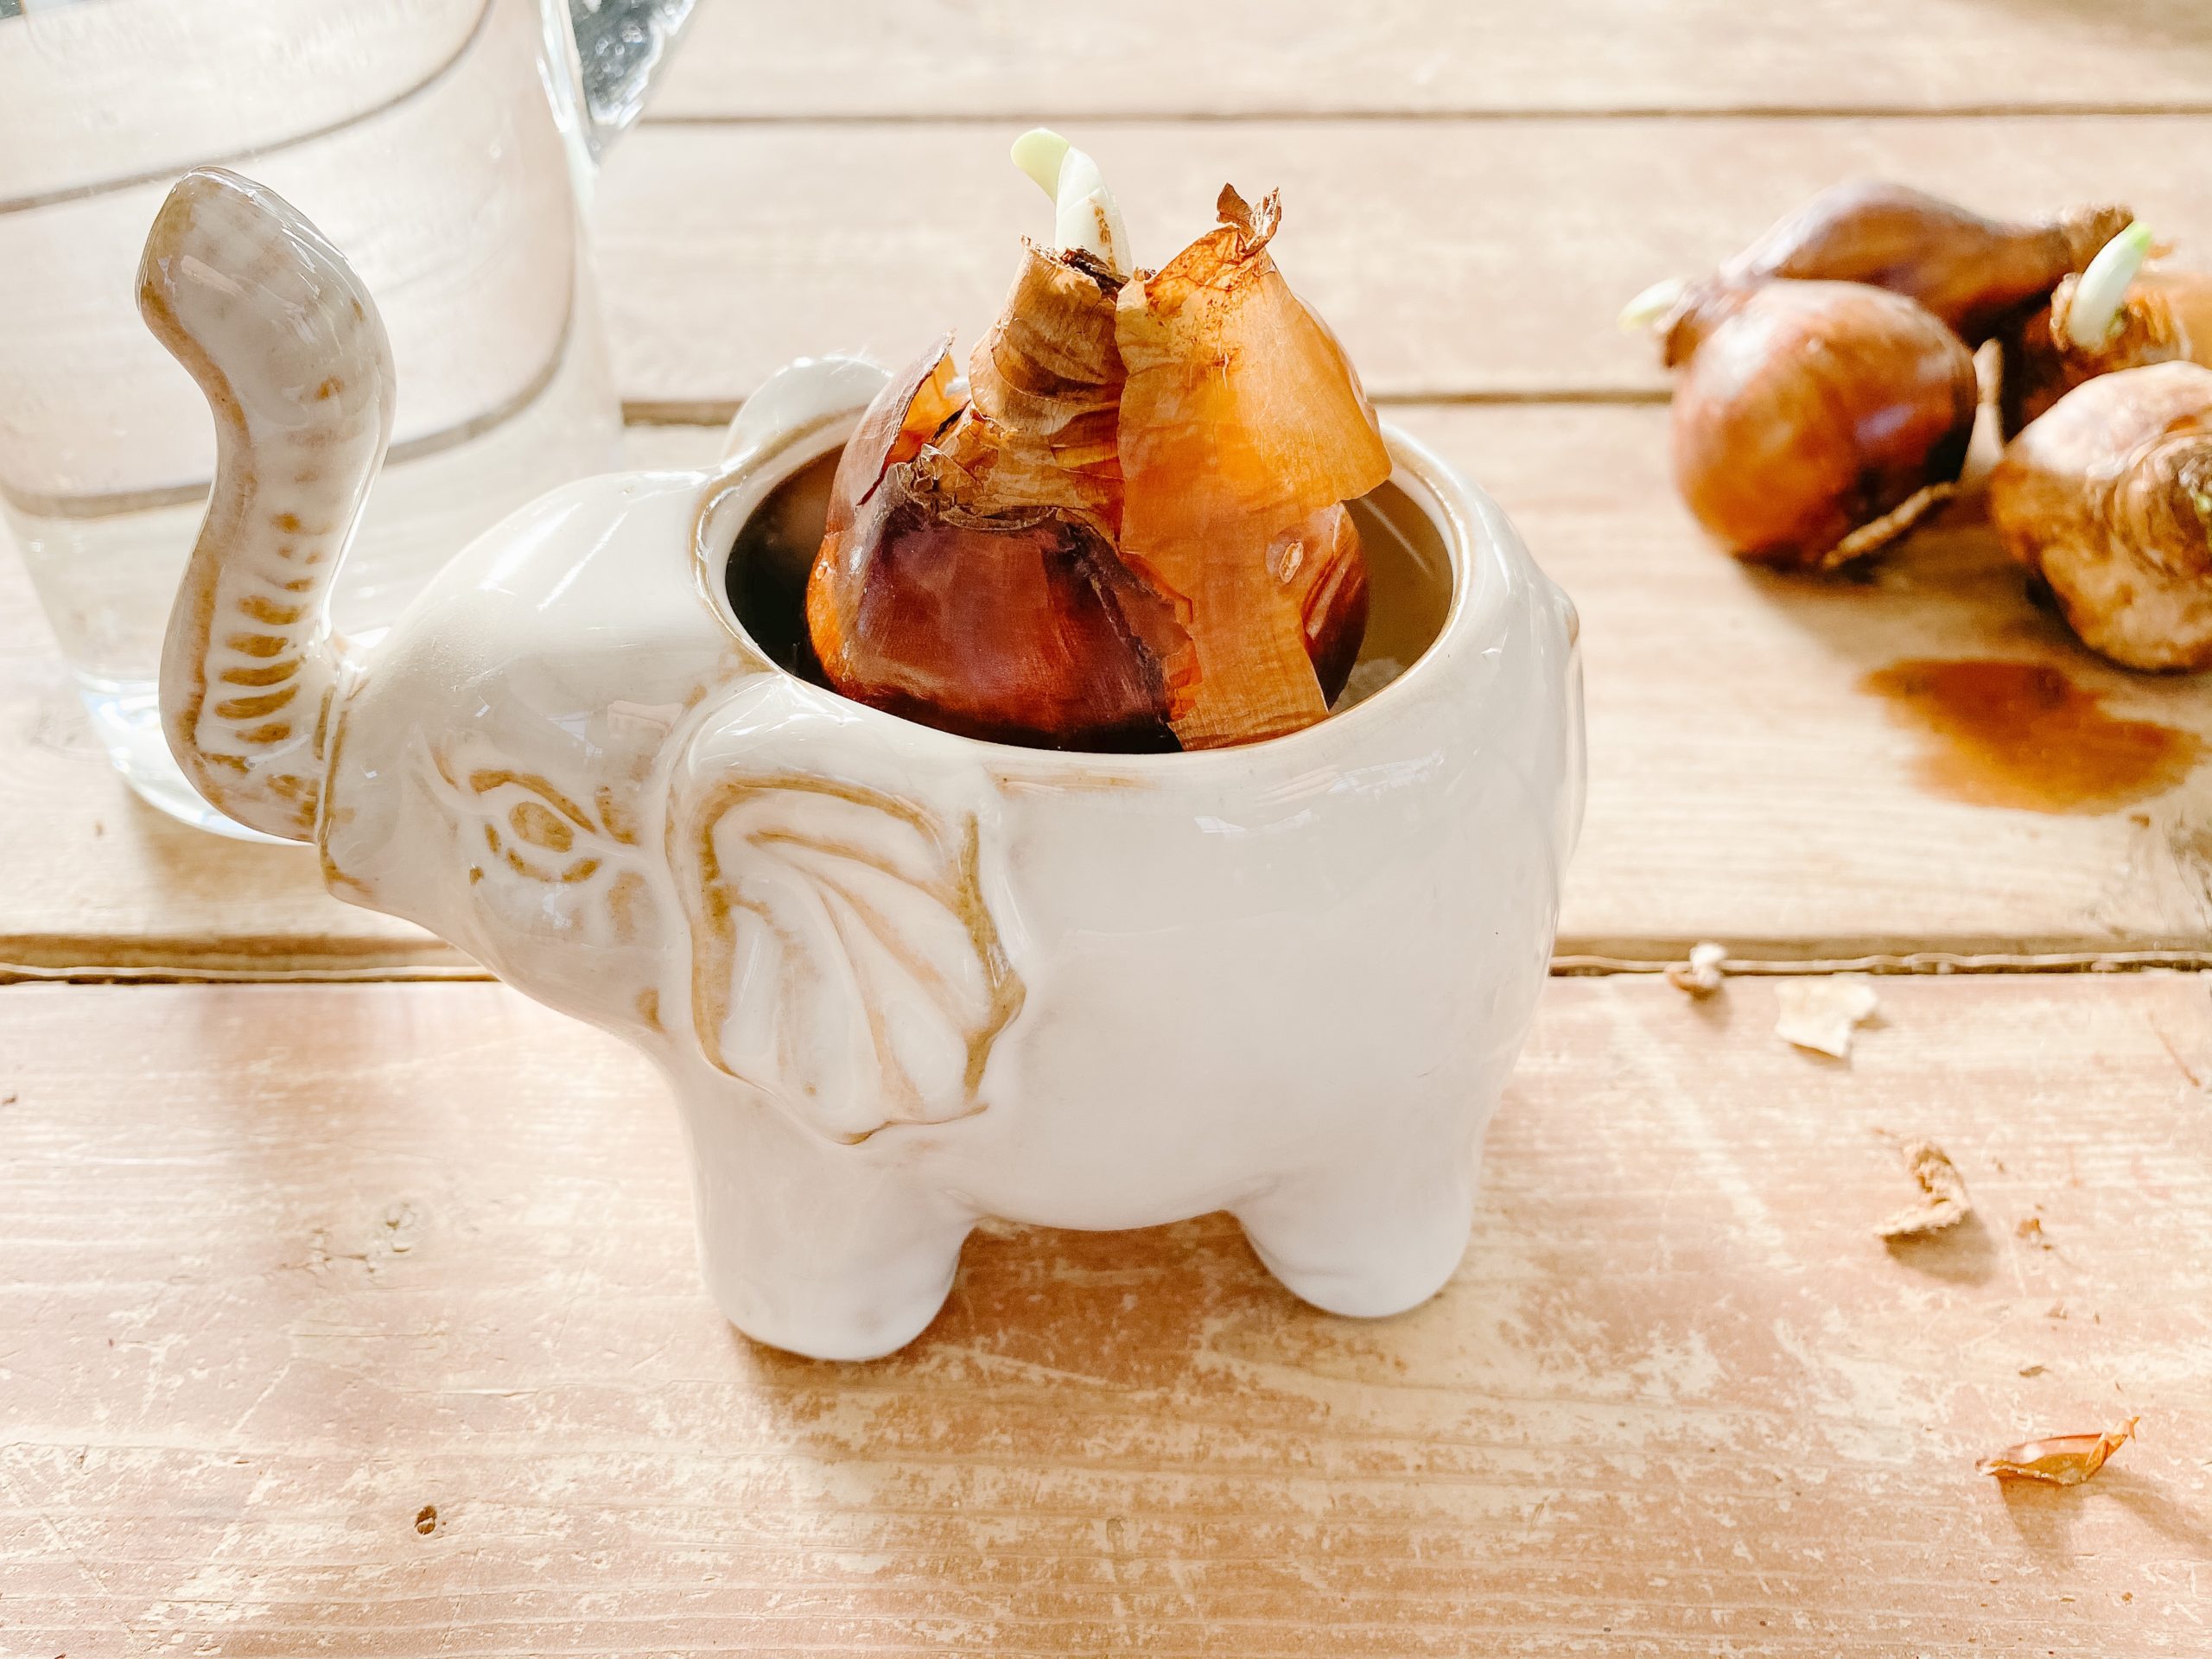
5 You can create paperwhite planter in any size planter, just reduce or increase the number of bulbs you plant.


Comments +