The holiday season is here (fa la la la la, la la la la) and we’re going to show you step-by-step how to build a holiday centrepiece with fresh greens.
A quick note: As of December 01, 2020 we have an updated version of building the centrepiece below with chicken wire instead of Oasis foam because floral foam is such an environmental hazard.
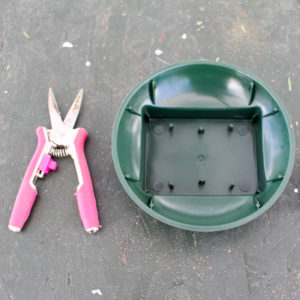
First let’s start with the materials you’ll need to create your centrepiece:
- Pruners
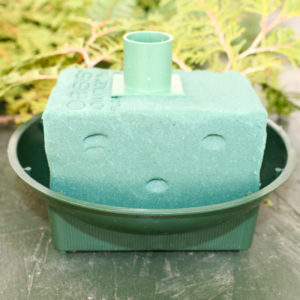
- Design Bowl
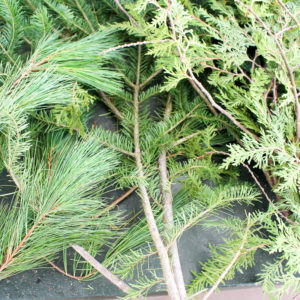
- Cedar, Pine, and Fir branches
- Oasis Foam (1/3 of a brick)
- Candle Pic
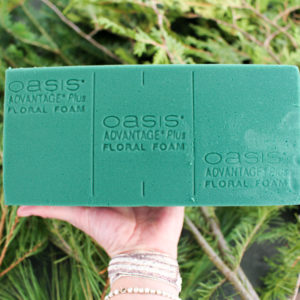
Second, soak the Oasis foam until it’s completely saturated. The foam will hold the water for your greens that you’ll be using to build your centrepiece.
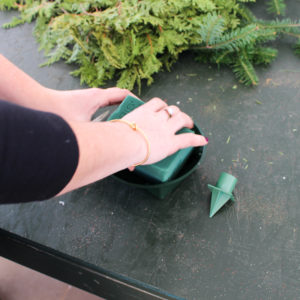
After your piece of Oasis foam is soaked thoroughly, cut one third of it and place it in your design bowl. Tape down to secure to the bowl.
Next, push your candle pic into the middle of your foam on the top. This is where your candle will sit.
Now, there’s one easy peasy rule of thumb to follow building centrepieces, everything is designed in triangle pattern.
Pro Tip: Make sure to never insert the ‘green’ part of cedar, pine, or fir into your foam. This’ll suck all the moisture out of the foam. Make sure to only insert about 1″ of the branch. Cut your branch at a slight angle to allow more water into the stem. (angled cut = more surface area).
Ok, let’s get our hands sticky (seriously, the pine is so sticky!). Start trimming off a piece of cedar and insert one piece on each side of your foam at the bottom near the bowl. Keep in mind that your bottom pieces will be the longest pieces. This’ll be the first part of your triangle. Once you have added pieces on all 4 sides, add two pieces above each one to create your first triangle!!
Pro Tip: As you build up, use slightly shorter pieces. This’ll create more volume in your centrepiece.
Pro Tip: Use the edge of your table and your hand to bend your greens, you can literally retrain them into curved pieces. (It’s like hairspray for your greens!).
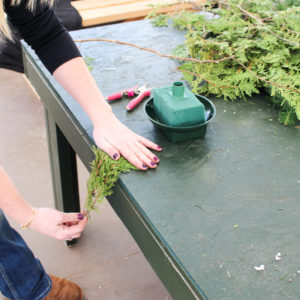
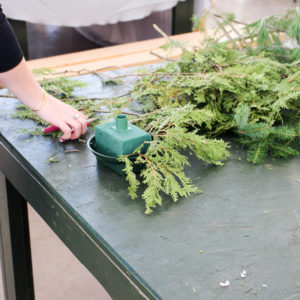
Now add a piece of cedar in the middle of your foam on the corners. Keep building toward the top, adding shorter pieces as you go.
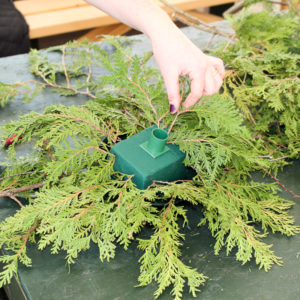
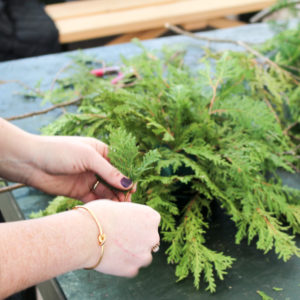
Alright. So you know how you can still see the foam? That’s totally ok. It’s time to start working with fir. Start with longer pieces at the bottom and work your way up, just like you did with the cedar. Remember to remove all needles from the stem where you’ll insert it into the foam so it doesn’t rob your foam of all its water.
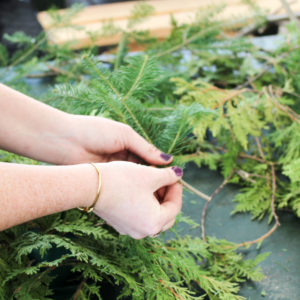
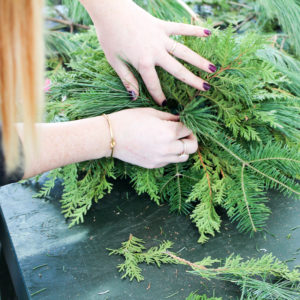
Keep adding fir until your back up at the top of your arrangement.
What’s next you ask? Pine of course!
Same rule applies here too. Add your longer pieces of pine to the bottom and work your way to the top, filling in any holes in your beautiful triangle pattern.
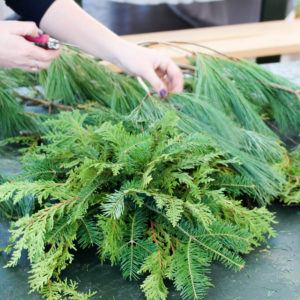
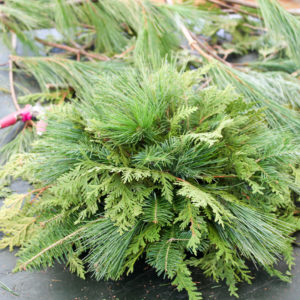
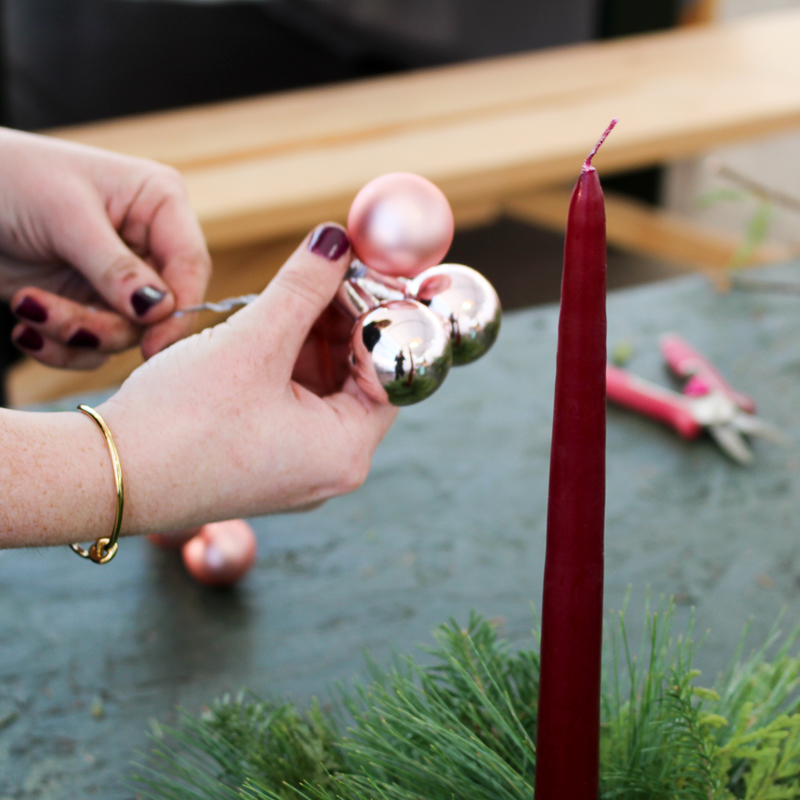
And Voila!! Just like that it looks like something gorgeous! Now it’s time to decorate. Pick your candle, and small ornaments to adorn your gorgeous creation with festive decor.
Pro Tip: Water your arrangement right after building it. Make sure to water daily. Your centrepiece will last 6 weeks.
Thank you for sharing this DIY information! I love you ‘how to’ pointers and I absolutely adore the smell of evergreens and this is one way to ensure that the smell permeates the home if you have a ‘fake’ Christmas tree! I just discovered Berger’s ‘Festive Fir’ Home Fragrance for my lamp and WOW it is also doing an amazing job!